DIY Halloween Push-Pop Dog Treats
A Pup-Friendly Spin on a Spooky Snack. Published September 2018. Updated October 2020.
The Dapple sometimes receives a small affiliate income when you shop using our links, but we’ll only ever link to products we truly love.
Confession: I’m a total sucker for a seasonal treat.
I love them all—Peeps, candy canes, Fourth of July Oreos, pumpkin anything. Show me a colorful, limited-time-only snack, and I’ll get out my wallet.
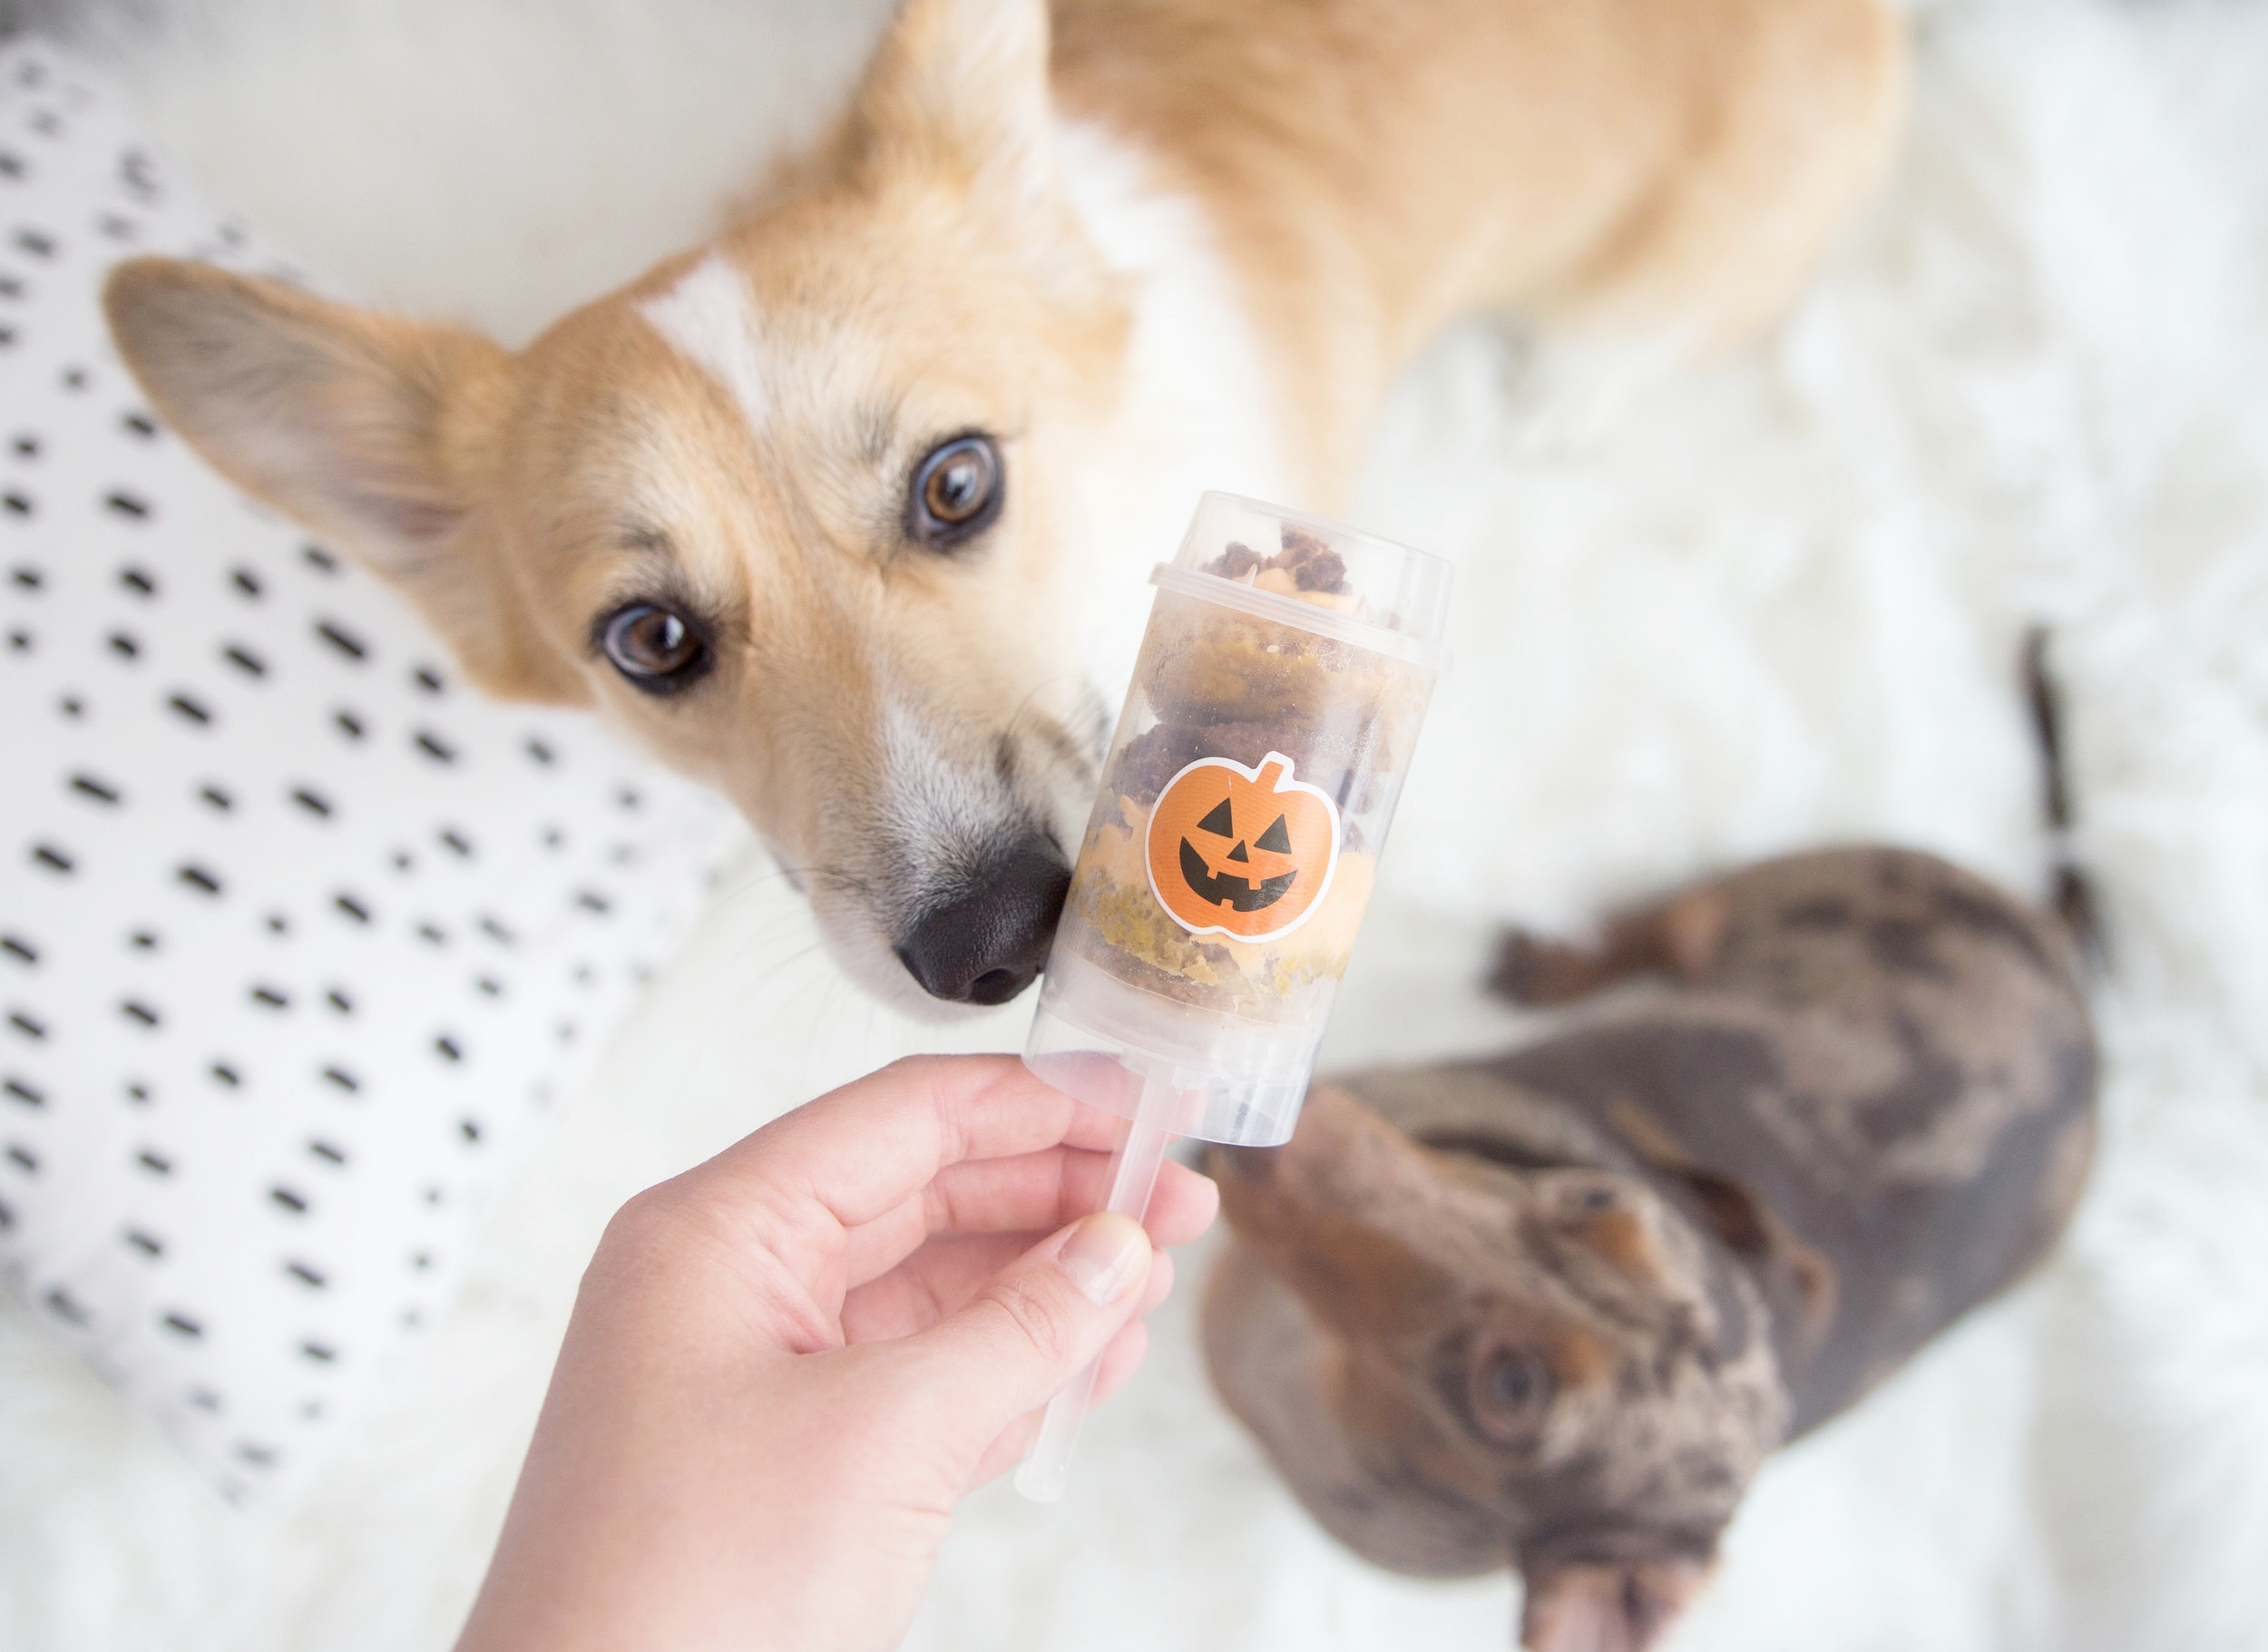
This year I wanted to create a really fun and festive dog treat for Howloween. I’ve been messing around with push-pops for different human events and parties this summer, so I had the idea to create a Howloween push-pop for pups.
The best part is the “push” part of it lets you slow down the usual gobble-and-gulp of treat time. You might even have time to snap a cute picture! Plus, although I recommend portion control, the pops do contain a lot of good-for-pups ingredients like pumpkin and yogurt.
They’re the perfect treat for fall puppy parties and Howloween get-togethers, and were a huge hit with my pups.
Scroll down to get the rest of the instructions. 👇🏻👇🏻👇🏻
Look who loves push pops!
Things got a little messy….
Howloween Push-Pops for dogs
Makes nine pops. You’ll need to assemble three different layers for the pops:
pumpkin Yogurt Ingredients
1 cup of plain nonfat Greek yogurt (not sweetened)
5 tablespoons of pure pumpkin puree (make sure it’s pure pumpkin puree, not pumpkin pie filling)
Pumpkin Cake Ingredients
1 cup of whole wheat flour
1/2 teaspoon baking powder
1/2 teaspoon baking soda
3/4 cup of plain pumpkin puree
1 egg
1/2 cup of plain nonfat Greek yogurt
2 tablespoons of olive oil
Carob Layer Recipe
One cup of a dark brown carob dog treat crushed (we used these)
You’ll Also Need:
Plastic push pops (available on Amazon here or at many party stores)
Halloween stickers (we used these ones from Target)
STEP-BY-STEP INSTRUCTIONS:
1. Preheat oven to 350°.
2. Grease an 8 x 8 pan.
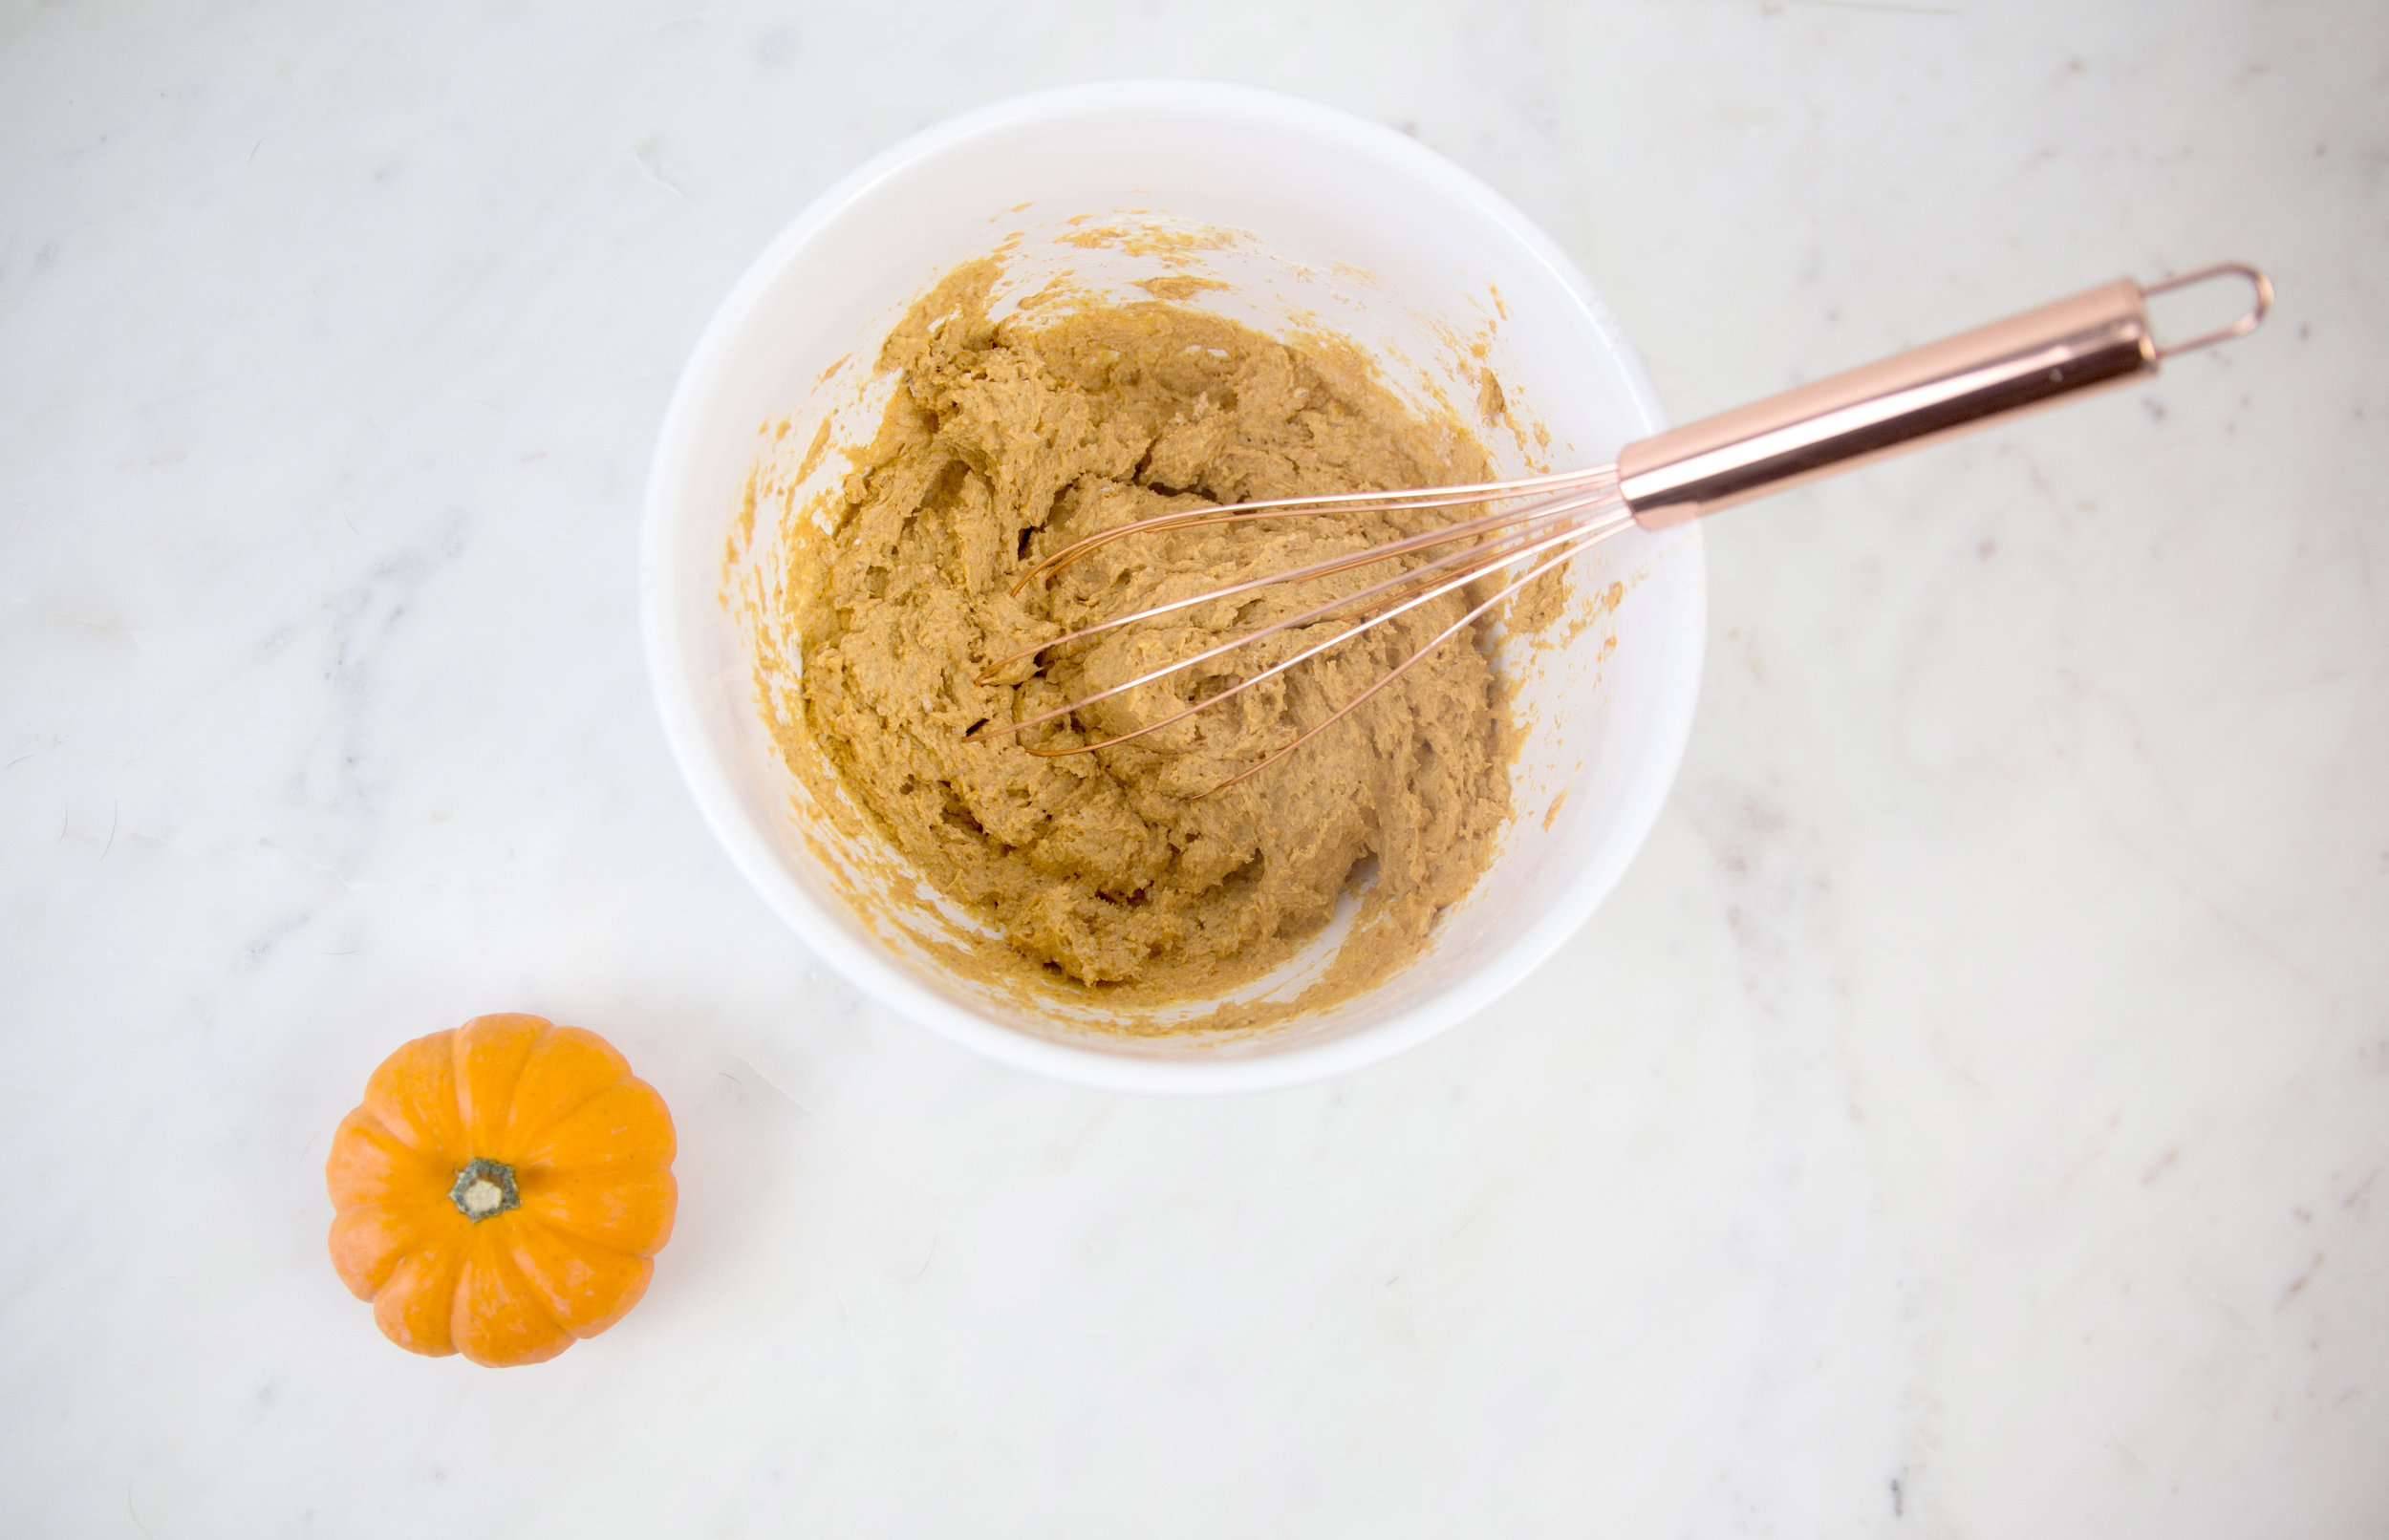
3. Begin prepping the cake batter by whisking together flour, baking powder, and baking soda. Once mixed, stir in egg, yogurt, olive oil, and pumpkin.
4. Pour batter into greased pan. Bake for 22 minutes or until a toothpick inserted in the middle comes out clean. Once cooked, remove from oven and allow to cool completely.
5. While the cake is cooling, mix together the yogurt and pumpkin for the yogurt layer. Keep refrigerated until you’re ready to use.
6. Decorate the outside of the push-pops with stickers—go crazy!
7. Once the cake is cooled, lay on a flat surface and use one of the pops to punch rounds out of the cake. You should be able to fit three rows of three into an eight by eight cake. Slice each punched-out round in half. You should have eighteen pumpkin rounds.
8. Take a decorated pop—make sure the push-stick end is already in place—and layer cake, then yogurt, then carob crumbs. Repeat. Then seal pop with lid.
9. Storing the finished pops can be a bit tricky. I stored mine in the refrigerator on a cooling rack balanced on mugs (see image below) to keep them upright.
10. Keep refrigerated until ready to serve, then watch your pups enjoy! And remember, push pop dog treats should always be served by hand to keep your dog from eating any of the plastic.
Disclaimer: Always do your own research about your dog’s food sensitivities and needs. All recipes provided by The Dapple are for entertainment purposes and are used at your own risk. I am not a registered dietitian or veterinarian, and am not responsible for any loss or damage. Please be aware that The Dapple may also receive a small affiliate income when you purchase something through one of our product links, but we only ever recommend products we truly love.
Ingredients for the pumpkin cake
Mixed cake batter
Pumpkin cake batter in the pan
We used these dark brown carob treats from Exclusively Dog (Available on Amazon)
I crushed my carob treats in a plastic bag by very gently tapping with a hammer, but you could probably also break them up with your fingers.
Decorating the push-pops with Halloween stickers
A hack for keeping your pops upright
Use the body of one of the pops to punch out the rounds. This will make sure that they’re exactly the right size for your pops.
Slice the rounds in half and begin layering into your push pop.
Enjoy!
Pin this recipe for later:
Disclaimer: Always do your own research about your dog’s food sensitivities and needs. All recipes provided by The Dapple are for entertainment purposes and are used at your own risk. I am not a registered dietitian or veterinarian, and am not responsible for any loss or damage. Please be aware that The Dapple may also receive a small affiliate income when you purchase something through one of our product links, but we only ever recommend products we truly love.


